
Owning a pet, such as a cute and small hamster, comes with responsibilities. Hamsters are low-maintenance pets that require minimal care and attention. However, new hamster owners need to be aware of the necessary cleaning and habitat care.
Keeping a hamster’s cage clean is essential to keep them healthy and disease-free. Cleaning a hamster cage includes daily spot cleaning, weekly bedding upkeep, and monthly thorough cleaning. A complete cleaning entails removing everything present inside the cage and washing it. All hamster accessories, bedding, toys, etc., must be cleaned or replaced.
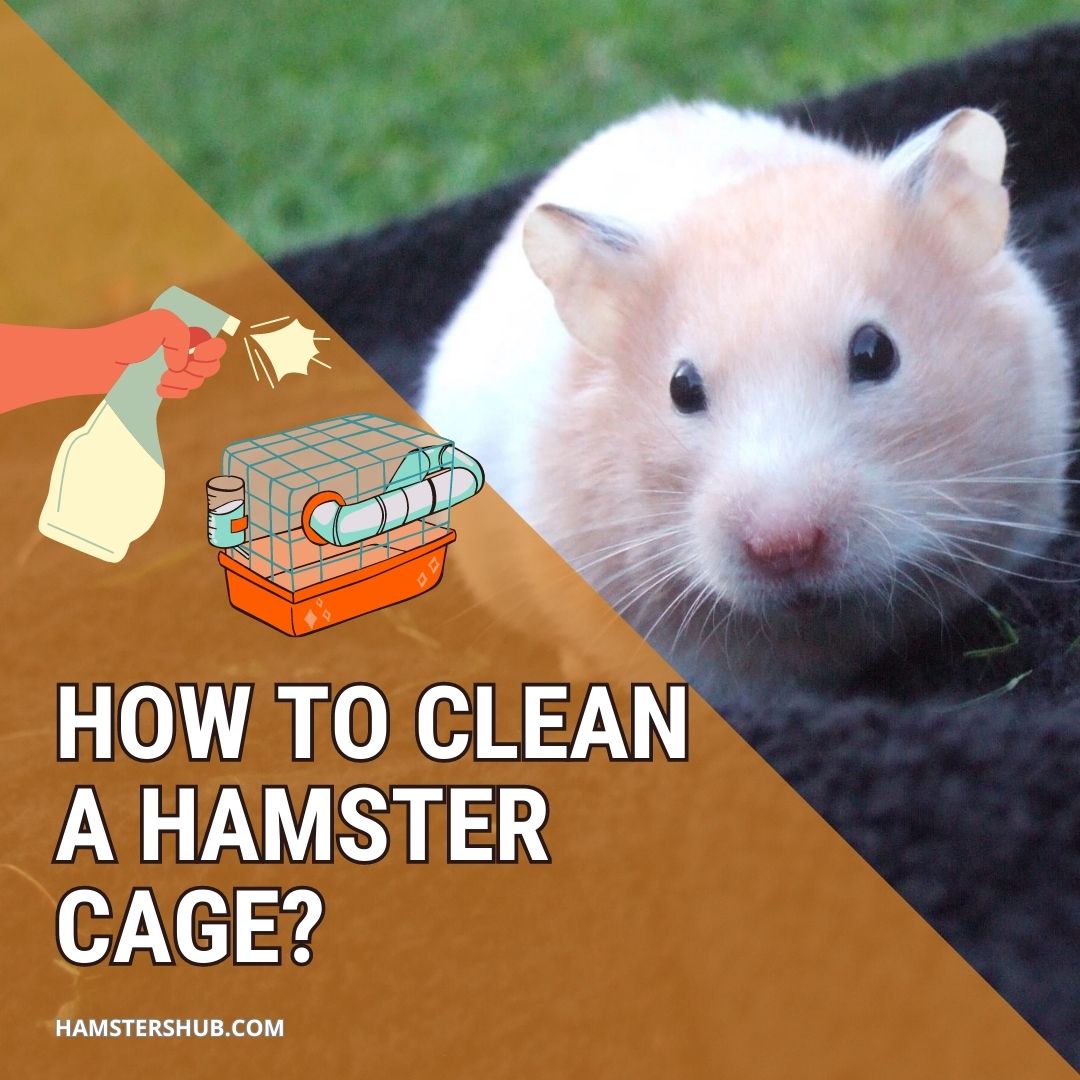
Here is a step-by-step guide on how to clean your hamster cage for a clean and safe habitat. Keep reading to know why cleaning a hamster cage is essential and how to do it effectively.
Why A Hamster’s Cage Needs Cleaning In The First Place?
A hamster spends the majority of its time in the cage. Therefore, you can expect a lot of food, pee, and poop in the cage. And if you have more than one hamster, cleaning becomes more essential than ever. It will reduce the chances of your hamster getting affected by bacteria or other contaminants. Also, cleaning will help the hamster cage to remain smell-free.
A clean cage also means a cleaner home. A dirty cage can invite dirt, debris, and bugs on the floors and furniture. Know that a dirty or messed up cage can make your hamster feel anxious or depressed. In that case, the rodent can also bite you due to unhappiness or stress.
So, there are more reasons than one to clean your hamster cage. It will keep your home clean and your pet mentally and physically stimulated.
How To Clean A Hamster Cage? Complete Steps
When it comes to cleaning your hamster’s cage, it is important to follow a schedule. This schedule can be divided into daily, weekly, and monthly tasks. Daily cleaning involves removing any visible messes or uneaten food and replacing any dirty bedding or water with fresh ones. Weekly cleaning means replacing the entire bedding and adding new food, water, and accessories.
For the most comprehensive cleaning of your hamster’s cage, it is imperative that you perform this task on a monthly basis and allocate a time frame of 45 to 90 minutes. Please adhere to the outlined steps below to ensure a thorough cleaning. Also, do remember cleaning process may vary depending on what type of cages you have for your hamster.
Step1: Examine The Cage
Before beginning, please thoroughly inspect the cage to assess its condition. Identify areas that require cleaning and prioritize accordingly. Over-cleaning or under-cleaning can lead to damage, so carefully examine the cage to determine whether it requires cleaning or not.
Do you notice any droppings or damp bedding in your pet’s enclosure? If there is a significant mess, it is necessary to change the entire bedding instead of just spot-cleaning. If the cage walls and environment are visibly dirty and emit a foul odor, it’s time to perform a thorough cleaning.
Note: Always prepare a quiet place for your hamster before you start cleaning the hamster’s cage; it will be necessary to prepare a quiet place where your rodent can be calm. As hamsters are easy prey for many predators in their natural habitat, they need to be constantly aware of their environment’s alteration.
Step 2: Gather Cleaning Supplies
Preparing all the necessary cleaning supplies beforehand is a wise decision that will simplify and reduce stress during the cleaning process. Make sure to gather essential items such as –
- Washcloth or baby wipes for scrubbing the cage.
- Disinfectants like mild shampoo or dish soap. Avoid harsh cleaning agents to prevent harming your hamster. You can also opt for vet-suggested cleaning solutions.
- A bucket and water nearby will make cleaning convenient.
- Keep new bedding handy.
Do not use corrosive, irritating, or aggressive products due to their pungent smell and disinfecting action; we commonly think that chemical products, such as creolin or chlorine, are more ‘efficient’ when cleaning. However, this product type is ineffective in cleaning organic matter or its residual odors.
Also, corrosive or irritating cleaning products harm our pets’ health. Its compounds can cause skin allergies, hair loss, irritation of the mucous membranes, and respiratory system problems.
To clean a hamster’s cage, the idea is to prefer neutral soap or enzymatic detergents. To enhance its action, it is advisable to use warm water and a sponge or brush to clean all the cage corners properly. It is also possible to use a spatula to remove the residue if necessary.
Step 3: Remove Your Hamster From The Cage
Cleaning the cage with your hamster inside is a big no-no. Transfer your hamster to a playpen or a secondary cage. Be gentle with your pet and cup it in your hands while supporting its body.
Ensure your hands are clean while removing the hamster from the cage and putting it back. You don’t want your tiny rodent to come in contact with harsh chemicals and get sick.
The ideal is to have an additional cage or a properly defined area where the hamster can play and exercise while sanitizing his cage. To keep it entertained, we can leave the hamster’s favorite toys and hides and a small treat.
Step 4: Take Out All Toys, Objects, Bedding
After placing your hamster in a secure location, removing any other items from the cage is best. This will make cleaning the cage easier. Take out all food and water dispensers, toys, and exercise equipment.
Discard the old bedding, as it can cause respiratory problems in your hamster due to its strong ammonia scent. It is best to put the old bedding in a sealed bag to remove the smell and the bacteria.
Step 5: Clean The Cage
It’s time to clean the cage thoroughly, paying close attention to the bars and door. Use a cloth or disinfectant wipes to clean every surface, making sure to wet them thoroughly. If there are any dried-out messes or debris, use a brush to remove them.
If you have a wired cage, do not miss any bar, and in the case of an aquarium, remember to scrub each corner. Scrub vigorously if the bedding is stuck to the cage wall; it may require more effort.
Step 6: Wash Every Object In The Cage
It’s suggested to put in the effort to keep your hamster’s cage clean. Don’t skip cleaning any objects in the cage, even if they don’t appear dirty.
Wash every toy, exercise equipment, food, or water bowl thoroughly to ensure a clean, fresh hamster home. You can either soak cage items in a cleaning solution or spray disinfectant on them. Use a cloth or wipes to clean them.
Step 7: Rinse The Cage And Let It Dry Thoroughly
Rinse your hamster cage with water once it has soaked all the disinfectant or cleaning solution. Use clean water and ensure no residue is left behind.
Take a dry cloth and wipe all wet areas for complete dryness. You may also leave it under direct sunlight to let the UV rays do additional cleaning.
Step 8: Add New Bedding, Food, And Cleaned Accessories
Kudos for completing this great task! Now, it’s time to get back everything and reassemble your hamster cage. The first thing to do is add a fresh piece of bedding.
Put back the toys and exercise accessories your hamster loves the most. And don’t forget to refill the food and water bowls.
Note: Don’t change all your hamster’s bedding at once; whenever you clean the cage, try to remove beddings that are dirty due to the urine and poop of the hamsters. Because hamsters leave scent to mark their place, removing all the bedding can make them feel their cage like a new place, and they can become frustrated.
You can follow the 80-20 rules, remove 20% of their bedding and keep the 80% old. Repeat the process again and again.
Step 9: Put Your Hamster Back
The only thing left now is to call your hamster back home. Be gentle and leave them alone for a day to get used to the new environment. Please give them a nice treat and a regular meal for comfort and help them settle well.
Note: Currently, several types of substrates are explicitly made for a hamster cage. Some of these products have a very high value because they help prevent unpleasant odors from rodent urine and feces, however, the scented bedding is extremely dangerous because it hurts a hamsters lungs
How Often Should You Clean The Hamster Cage?
As per the general suggestion, you must clean your hamster cage at least once weekly. If you feel the cage is too dirty, you may need to clean it often. Another thing to know is that quick cleaning will extend the duration between the deep cleanings.
For instance, quickly removing messes or stashed food will keep the hamster habitat clean for longer. However, some rodents are messier than others.
A dwarf hamster will create less mess than a Syrian hamster due to the size difference. Bigger hamsters can leave bigger messes behind, so be careful when buying one.
Furthermore, an Aquarium, Terrarium, or glass cage is easy to clean and doesn’t get dirty easily, whereas wire cages soak hamsters’ pee and get dirty.
How To Keep Up With The Daily Cleaning?
Weekly or monthly deep cleanings can be done to maintain cleanliness, but implementing daily upkeep habits like removing the hamster’s mess is helpful. Doing a few simple tasks daily can help keep things tidy in between deep cleanings.
To ensure your hamster’s health, refilling their water dispenser with fresh water every day is best. This helps prevent them from consuming contaminated water or food. If there’s any uneaten food, remove it from their cage. And if you think they need more bedding, feel free to add some.
Hamsters are usually clean creatures and fix one or two spots to relieve themselves. Using a scoop or gloved hand, you can easily clean these pee corners daily. Remove if any solid material is present in the cage and dispose of it in a bag. It will prevent germs or bacteria from building up and causing harm to your pet.
Tips To Make Cleaning Hamster Cage Easier
Cleaning your hamster cage will not be a herculean task with these tips. Here are a few things to make the process easier.
- Having the right supplies will make it smoother for you to clean the hamster cage. A good quality brush, scrub, and vacuum can make all the difference.
- You can use a dustpan to scoop out the bedding effortlessly. It is the easiest way to discard the bedding. You will get a dustpan at any hardwood shop.
- Have a plan ready. Examine what needs more attention and things that need replacement. Check whether you have all the cleaning supplies at home before deciding to clean. Organize your supplies and fix a time to make cleaning faster.
Summary
Cleaning the cage is vital to ensuring your hamster’s good health. Neglecting cleaning can lead your hamster to fall sick or ill. Pododermatitis, wet-tail, diarrhea, etc., are common conditions resulting from a dirty hamster cage.
By following the above simple steps, you can ensure your hamster’s home looks and feel good. A few minutes of daily, weekly, and monthly cage cleaning can help keep your home clean and your hamster happy and healthy. Bonus: Your home is going to smell better!
Similar Articles: